Everywhere you look online at the moment someone is building a fireplace. To which I am massively grateful. This project has been on my to do list since we moved in. I felt like we needed a focal point to split up the dining and living spaces and so, why not make a fake fireplace? Only at this time I didn’t know how to do it and Alex was well, let’s say wary of the idea. He’s more of a traditionalist. You say fireplace, he thinks mantel, brick chimney, log fire.

When Bosch asked me to try out their tools I thought this was the perfect opportunity to finally build my dream fireplace. Luckily, more adventurous bloggers than me were building fake fireplaces so I had plenty of images and tutorials to show him that it could be done. I(/many other bloggers) won him over and the project was on! And you know what, he loves it! He even told me, in his own words… “it’s much better than I was imagining it would be.” (thanks hun.)
The archway design was going to be the tricky part but I’m not easily defeated and started the build the frame with a vague idea of how this might work in mind. I actually really love the process of working out these problems while building them. I’m not a planner – and when I do plan I usually change things as I go along. Which is what happened with this project. A lot. Hopefully I’ve made all the mistakes so you don’t have to! You can thank me later.
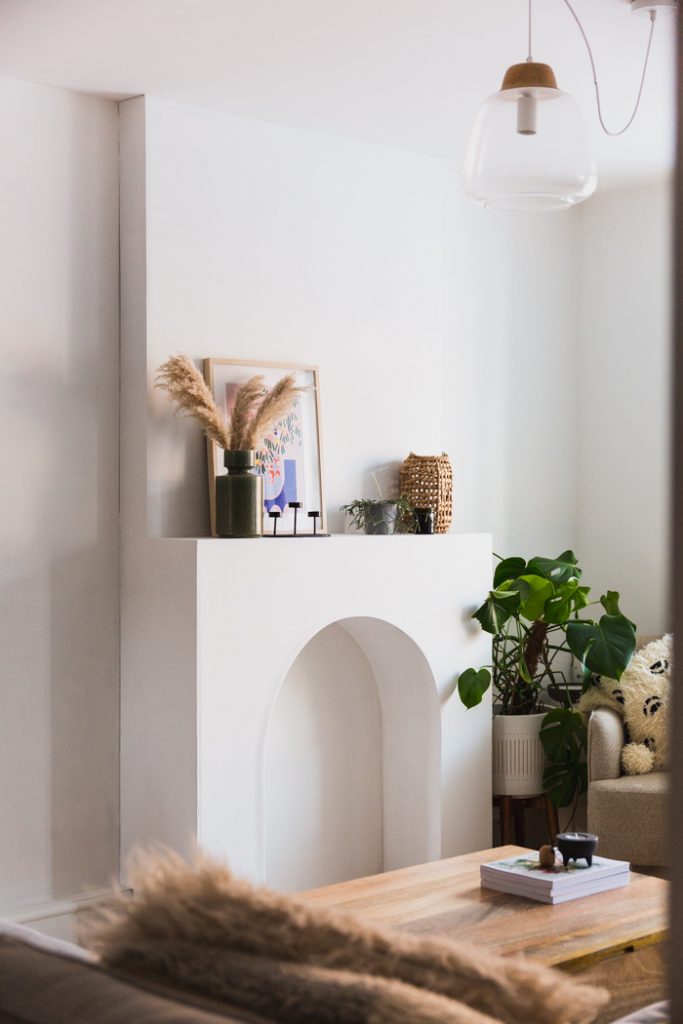
It still needs a few finishing touches but I just couldn’t wait to share this with you! Here’s the tutorial:
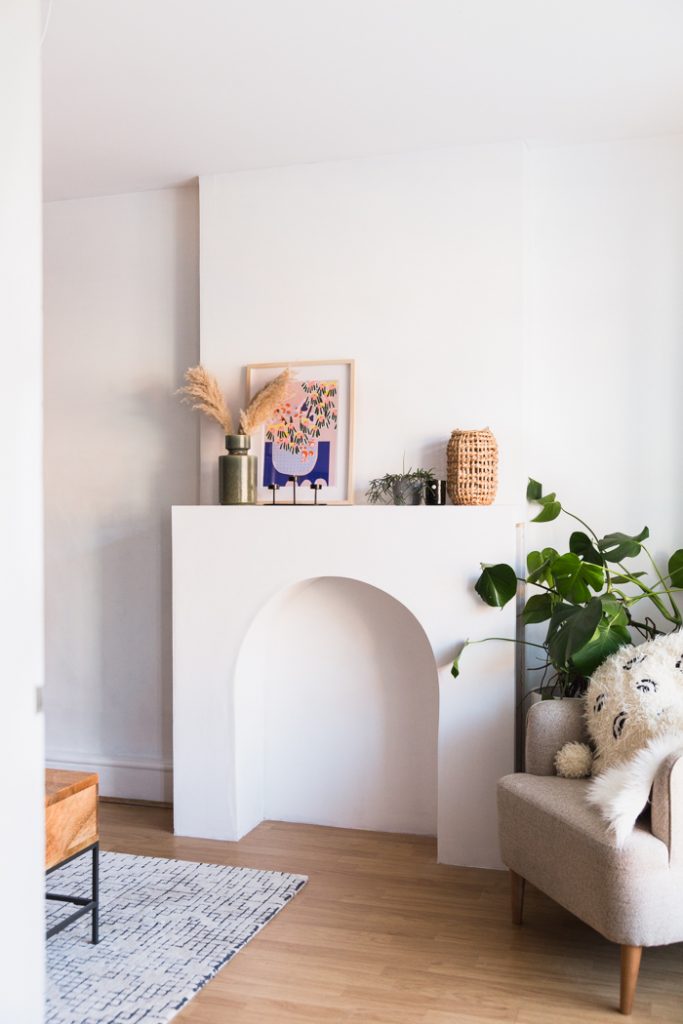
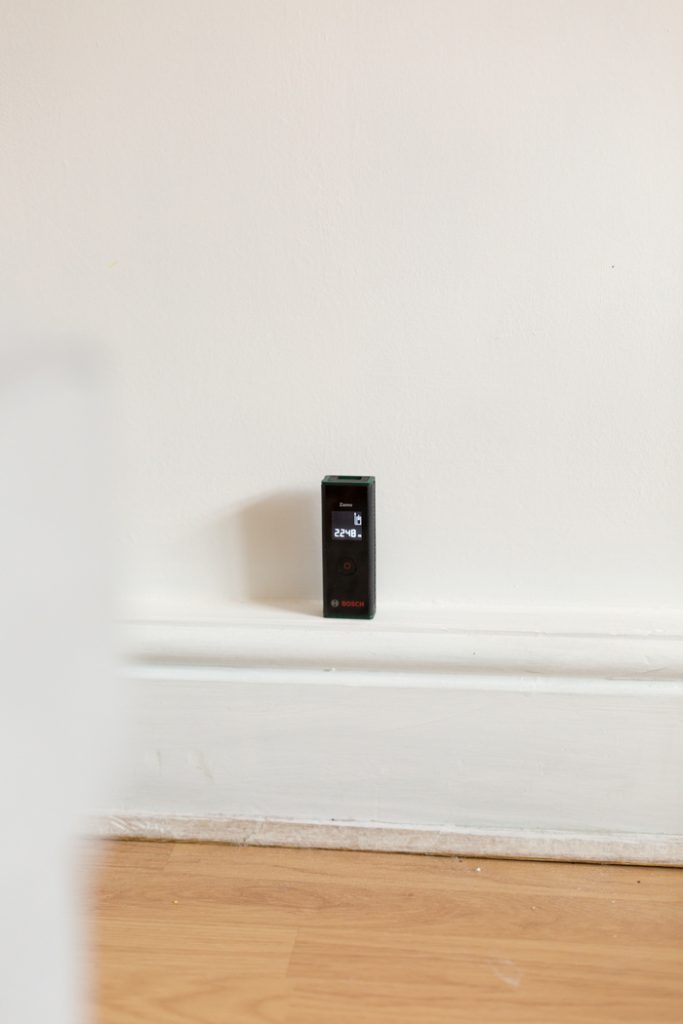
Ok, so this might change depending on the size of your fireplace and the place in which you put it. In other words, prepare to be flexible. I haven’t added any measurements but for reference my fireplace is 120cm wide. The Bosch Zamo is very handy when it comes to measuring your space accurately – especially the height of the room!
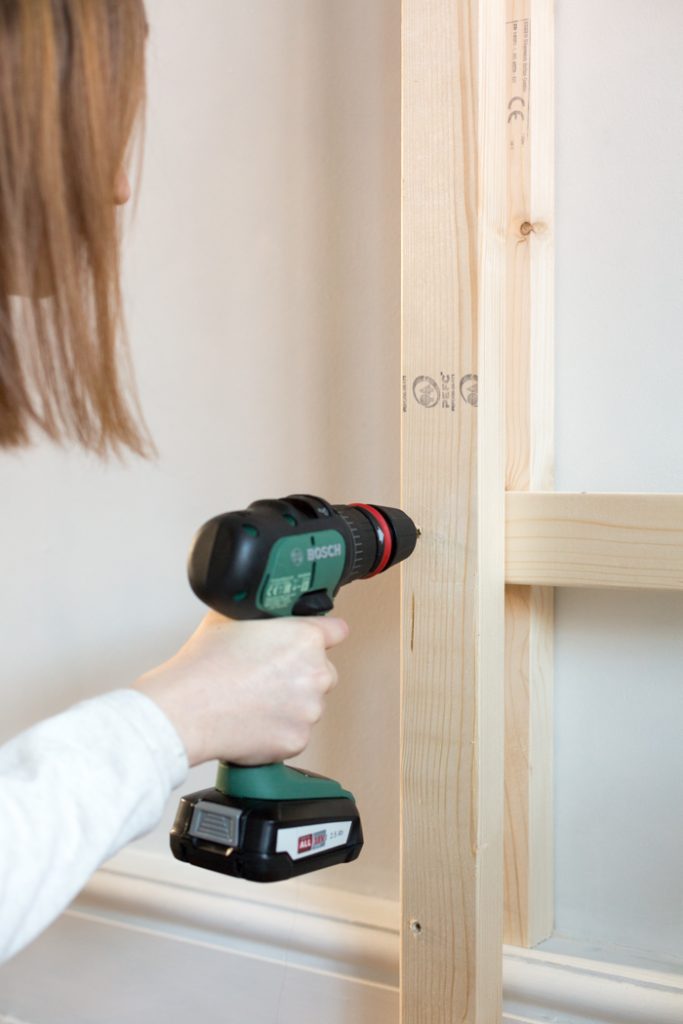
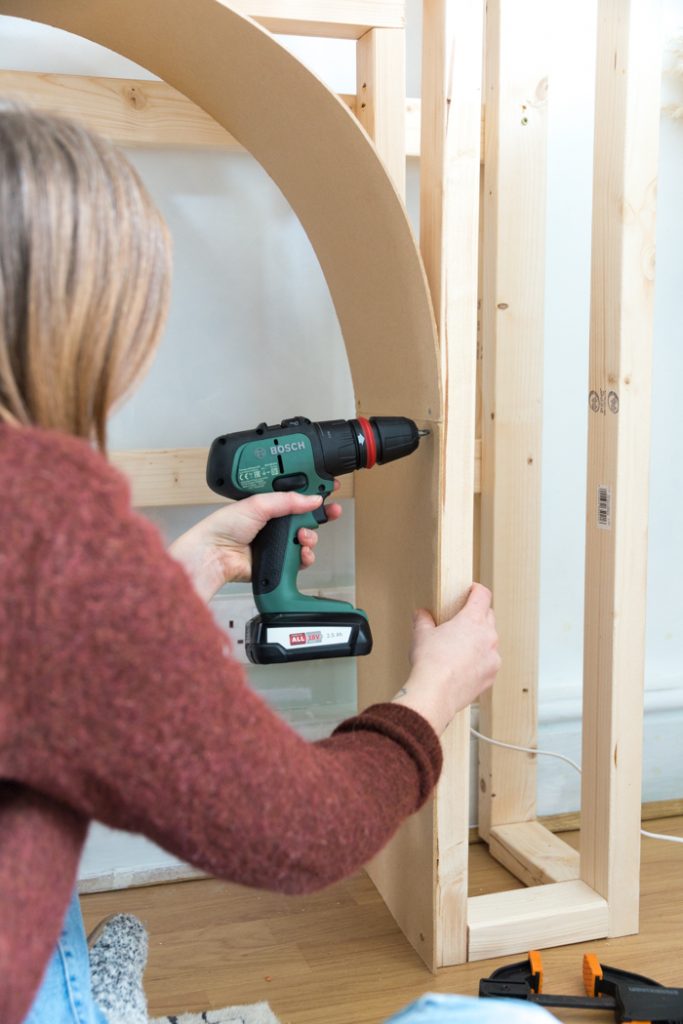
I built the larger part of the frame first. This was three horizontal beams sandwiched between vertical beams – 2 on each side. Lay down two vertical beams and place the horizontal beams on top. Make sure all the beams are straight and level. Drill two holes into the horizontal beams where you’re going to put a screw using the Bosch AdvancedImpact 18 . Then use the 75mm screws through both pieces at the join.
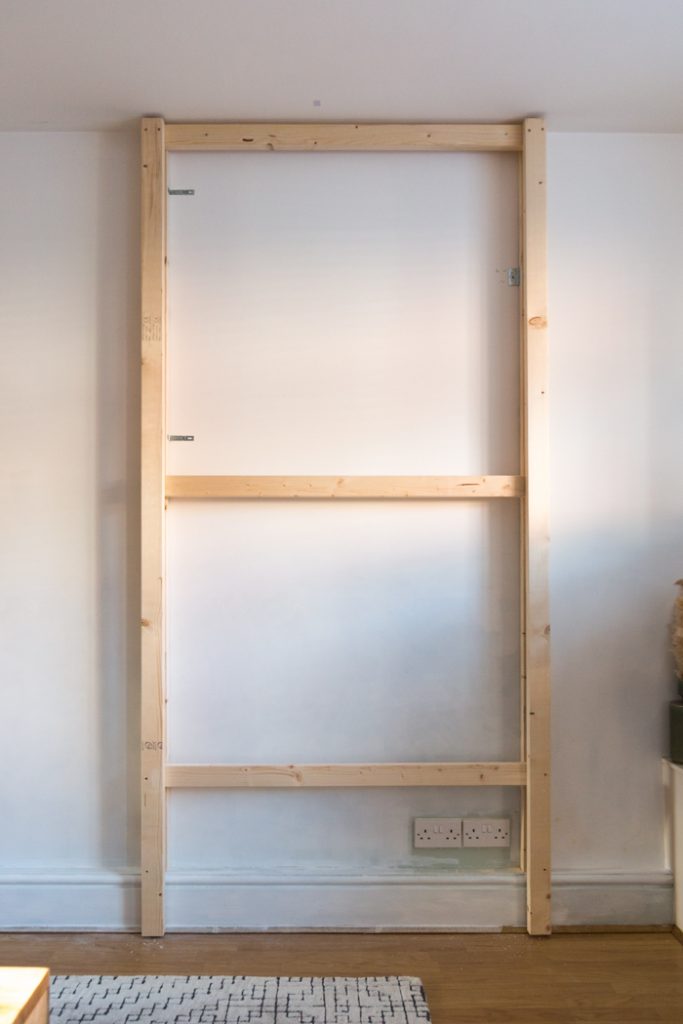

Once all the pieces are attached add the second vertical beams over the top.
Attach this to the wall with brackets and strong rawl plugs.
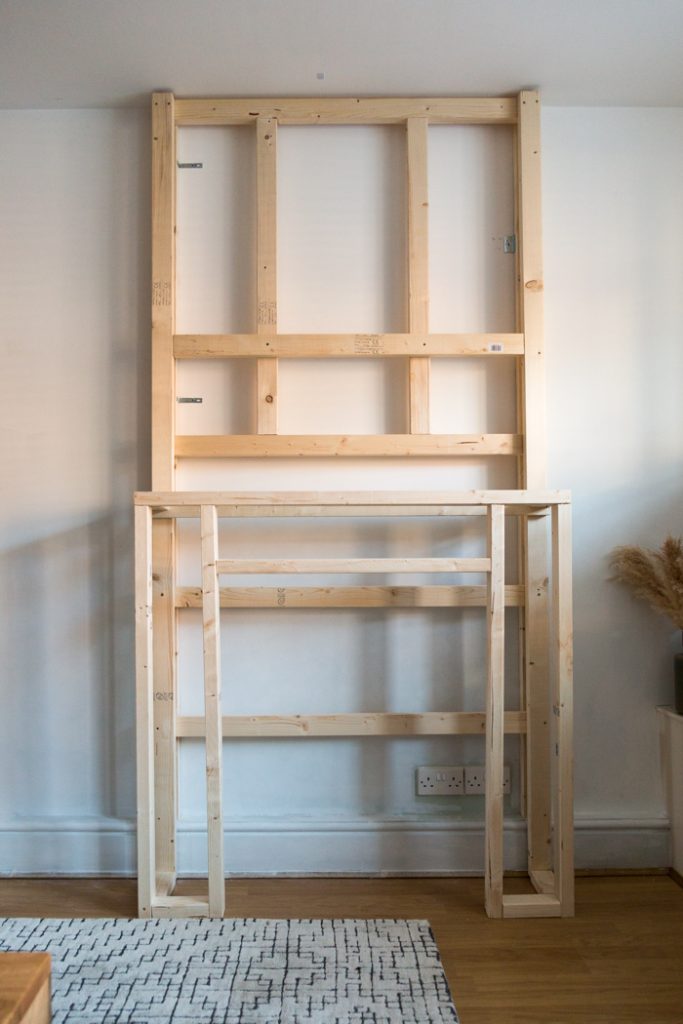

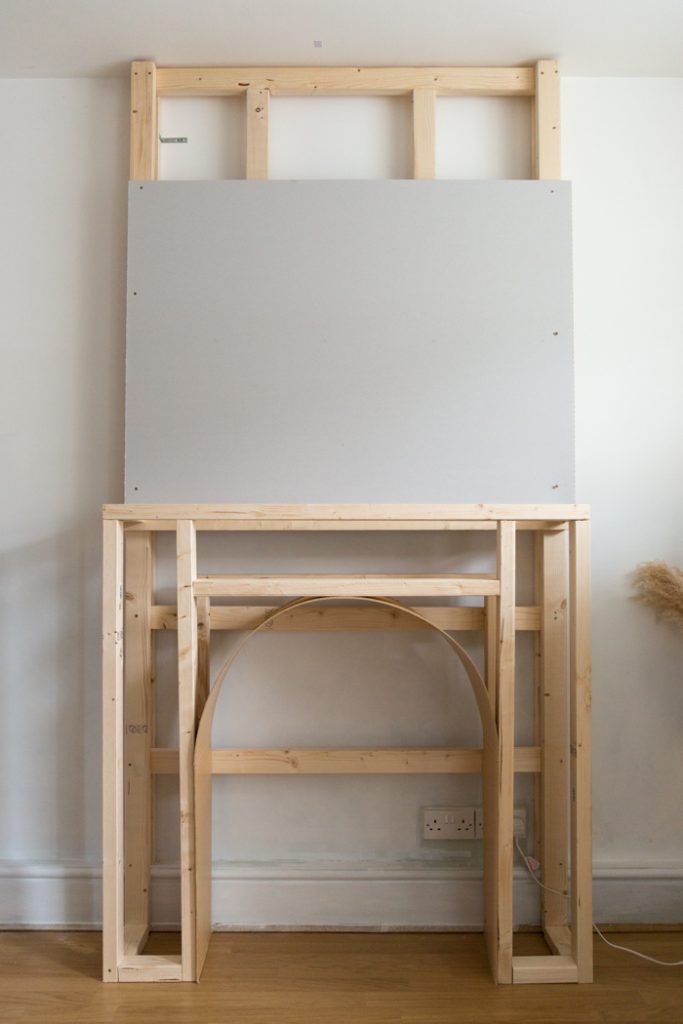
Build a smaller frame for the lower part of the fireplace. You’ll need to leave a large gap at the front for the arch. Attach this to the larger frame.
Build a frame the same size as the opening at the front and fix directly behind it to the back frame.
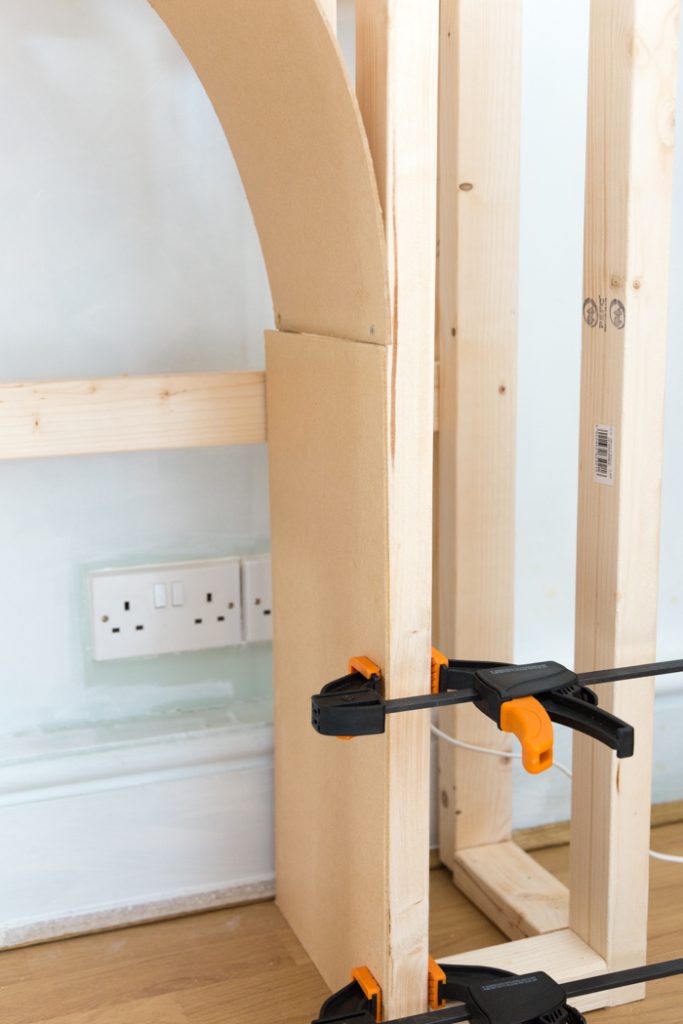
Measure the depth of the fireplace and add the depth of the plasterboard to that measurement. Then measure the size of the opening at the front and double. Cut a piece of hardboard using these measurements. Bend into the arch inside the opening and use clamps to hold it in place on the frame.
Use smaller wood screws to attach the hardwood to the frame. Cut and add more hardwood to the bottom of the arch to complete.
Sand the edges of the frame with the Bosch PSM 18 LI and cover in plasterboard, cutting to size and screwing into place. To cover the front of the fireplace use two pieces of plasterboard Position the first in place so it sites at the halfway point in the centre. Holding in place draw along the arch from the inside. Place the wall on a flat surface. Draw another line around 3mm outside of the first.
Before you cut make sure the surface under the wall is protected. Use a retractable knife to cut the round edge being very careful! Don’t try to make a deep cut. Use gentle pressure along the curve line keeping your fingers away from the blade! Take your time and you’ll get a neat line.

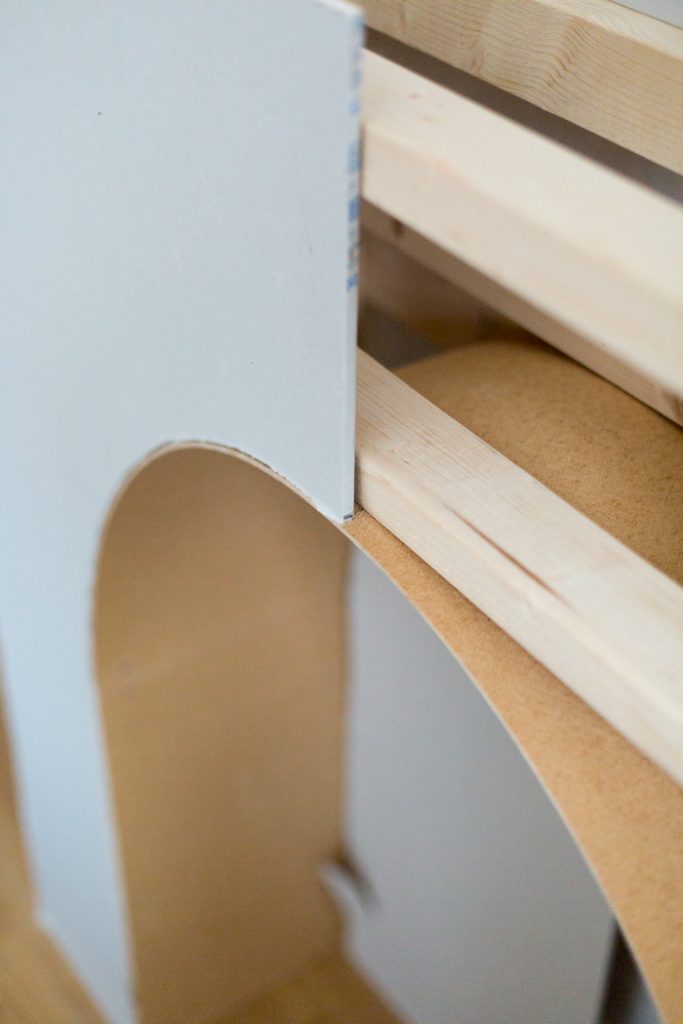
Once the wall has been cut into two pieces use the large piece on the front of the frame and the smaller piece on the inside of the arch.
I’ve just got to mention here, (don’t judge me) but I really did love cleaning up with the Bosch UniversalVac . These big projects can get really messy so just having a cordless hand vacuum to clean up with as you go made life a lot less dusty if not way easier! And Ollen loved pretending it was a leaf blower so generally entertaining all round!